Week 2: HAND TOOLS USED ON WOOD
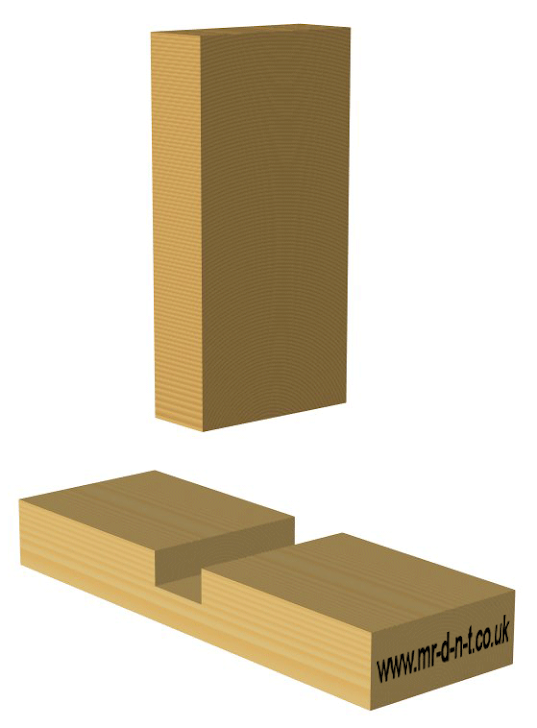
Topic: Making a Housing Joint
Sub-topic: Hand tools used on wood
Modality : Online
Level : Form 5
Duration:
No. of students: 25
Aim of the lesson:
The aim of this topic is to help students gain knowledge and understanding about different hand tools used for woodwork.
Learning Objectives:
Upon completion of the lesson, students will be able to:
1. List at least five basic hand tool and their uses.
2. Identify at least two precautions that are essential to safe use of Hand tools.
3. Make freehand sketches of two of the hand tools
Assessment criteria:
Students will be assess on the work posted on my Blog: Ricardo.dinstudio.com
Marks about each exercise has been clearly mentioned to them.
Total marks: 30
Presenting the Lesson
· Introduction
· How some of these tools are used –clip from Youtube
· Description, uses/purposes and photos of each tool
Introduction
Hand tools are part of our everyday lives and help us to easily perform tasks that otherwise would be difficult or impossible.The Design and Technology workshop contains many types of hand tools for many different tasks. Below is just a selection of the most common ones that you will use within the schools workshop.Viewing a clip from YouTube on how hand tools are used for woodworking.
Click on the link below to view the clip
Description and uses of basic hand tools used for woodworking
1. Smoothing plane
It is used to make rough wood smooth. It is also used to reduce wood to the correct size for example by planing off excess wood when cleaning up comb joints or dovetail joints, before final sanding.

2. Tenon saw
This saw is used to cut straight lines in wood. The mortise and tenon joint is cut using a tenon saw.

3. Try Square
This tool is used to check for squareness (90 degrees) and also to mark lines square across pieces of wood when marking out. It is similar to the engineers square but does not have the burr groove nor is it usually made from steel.

4. The Marking Gauge
Used to mark lines parallel to the edge. Used to mark out shoulders and the depth to cut when marking out joints.

5. The Mallet
This is used with a chisel to remove waste wood when cutting joints.These malletts are made in two parts - the handle and the head, both are made from beech. Beech is used because it is a very tough and durable timber.

6. The Marking Knife
It is used to mark out joints by cutting fine lines deeply into the wood. A pencil is not accurate for fine woodworking.

7. The hand drill
It is used with small twist drills to drill holes in wood. The chuck is hand operated. The handle is turned and the gear wheels transmit this turning force to the chuck.

8. Coping Saw
Used to cut curves in wood. Very useful for removing most of the waste wood when cutting comb joints and dovetail joints. The coping saw can also be used on acrylic.

9. Cross Pein Hammer
This hammer is used to knock panel pins and small nails into wood. Start by using the wedge end (cross pein) to hit the nail head which is held between finger and thumb. Once the pin has started use the flat end to complete the job.

Activity 5:
Read the text above and then answer these questions below.
Bring the work on the next face to face session for correction.
1.) What are Coping saws used for?
2.) What tool do we use for marking straight lines on wood?
3.) Why is the Tenon saw also called a back saw?
4.) What tool do you use with a chisel to create more force?
5.) What are files made from?
6.) Why are G-clamps indispensable in a workshop?
7.) What apart from the material is the difference between a steel rule and a plastic ruler?
8.) Why a Pillar drill is often fixed into the floor?
9.) What is a Fretsaw used for?
10.) Name the two tools from above that do the same job?
Activity 6: Multiple choices (Hot potatoes)
Activity 7: Fill in the blanks (Hot potatoes)
No comments:
Post a Comment